
Describe the lines precisely
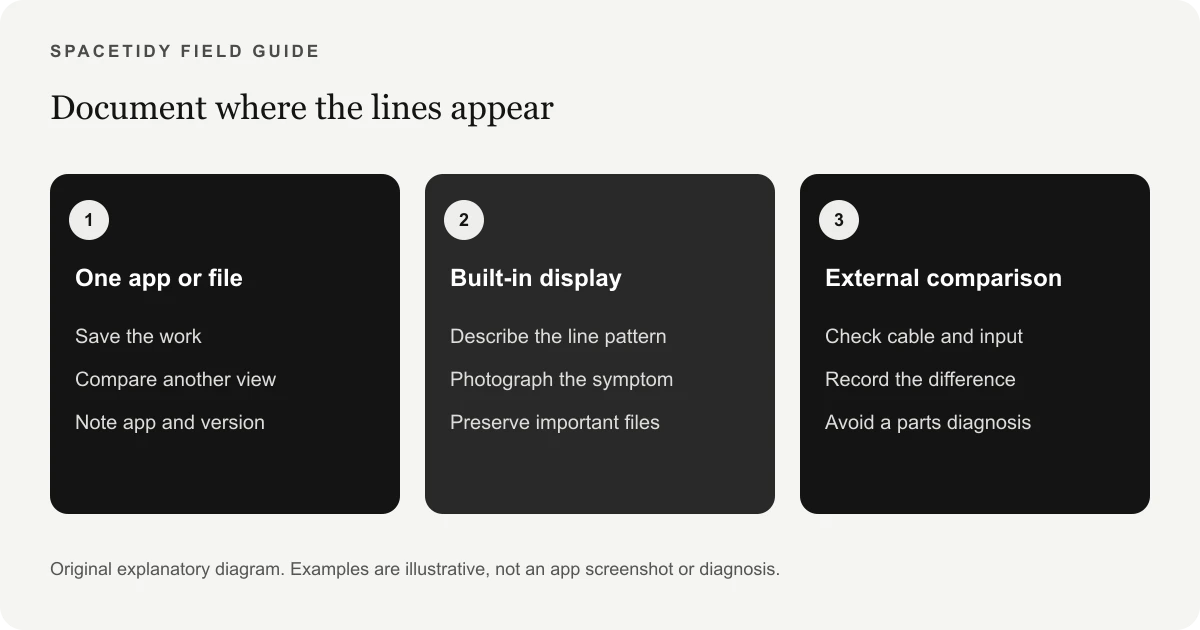
Are they vertical, horizontal, static or moving? Do they appear across every app, on the login screen or only inside a video? Note when they began and any recent impact, liquid exposure or accessory change.
Capture both a screenshot and a photograph if the machine is usable. The difference can be useful information for support, but it does not by itself identify the failed component.
Compare built-in and external displays
If you already have a compatible external display, note whether the same symptom appears there. Check its cable and input selection before drawing conclusions about the Mac.
Do not buy replacement parts based on this comparison alone. Display paths can fail differently; an apparently normal external monitor is a useful observation rather than a repair diagnosis.
Separate an app problem from a wider symptom
If lines occur only in one app, save work and compare another app. Follow the affected app’s support and update guidance.
For a broader software investigation, Apple’s safe-mode procedure may help isolate startup software. Persistent lines before normal login or across different conditions are a reason to seek further assessment.
Use our Apple Diagnostics instructions for the processor-specific startup method. If the screen becomes completely blank, switch to the Mac black-screen guide.
Turn a vague display complaint into useful observations
Start by describing what you can see without trying to name the failed component. Note whether the lines run vertically or horizontally, whether they are constant or moving and whether they cover the whole display or only part of it. Record the time and what you were doing when you noticed them. If the Mac remains usable, save the current work before beginning comparisons. A precise description is useful even when you cannot determine why the image looks wrong.
Next, distinguish an on-screen graphic from an unwanted display artifact. A line confined to a spreadsheet, a selection border in an editor and a band that persists across the desktop are different reports. Switching to a simple, familiar window can help you describe the difference, provided the computer is responsive. Avoid assuming that an unusual line must be a panel failure or that every moving artifact must be software. The immediate objective is to identify the scope of the symptom and preserve enough context to explain it to someone else.
Compare a screenshot with a photograph carefully
A screenshot records the image captured by the system, while a photograph shows what the camera sees on the physical display. If possible, save both and describe any difference. Keep the photograph steady enough that the lines are visible, and avoid including private documents, notifications or account information. If the image changes during normal use, note that the photograph represents one moment rather than the entire history of the problem. A short recording can sometimes explain movement more clearly than a still image.
Do not turn this comparison into a universal diagnostic rule. A line visible in one capture but not another is useful evidence to share with support; it does not identify a replacement part by itself. Capture timing, the active application and the particular symptom can all affect the comparison. Label the files so you know which condition they represent. Support will get more value from “this photo shows the screen immediately after waking” than from an unlabeled collection of images and a confident but unsupported hardware diagnosis.
Check whether the symptom follows an app or a display
If the Mac is responsive, save work and compare a few ordinary views: the affected app, another built-in app and the desktop. Note whether the lines remain in the same physical place or appear only inside one window. Do not open a long list of demanding applications simply to force a result. A small comparison is easier to interpret and less likely to interrupt unfinished work. If the problem belongs to one document or video, record that distinction for the app developer.
An external monitor, if you already have a compatible one, provides another observation rather than a final answer. Describe whether it looks normal, whether its own cable and input are correct and whether the built-in display still shows the symptom. Do not buy a replacement screen, cable or dock based solely on this comparison. If you are instead dealing with a completely dark image, the black-screen guide provides a more appropriate starting point. Keep separate symptoms separate when you collect the evidence.
Keep a software check controlled
An app-specific symptom belongs first with that app’s documentation and support resources. Record the version and whether the behavior occurs in every file or just one. If you make a change, check its effect before making another one. This approach avoids a common troubleshooting trap: changing several preferences, installing updates and removing files together, then having no idea which step mattered. A controlled investigation does not need to be slow; it needs to preserve the relationship between the action and the observation.
For a broader startup-software comparison, use Apple’s safe-mode instructions for your processor. Note what happens under that condition and after returning to a normal session. Do not interpret the result as permission to remove unfamiliar startup components indiscriminately. Some software may be required by your work, peripherals or security setup. If the device is managed by an employer or school, involve its support team before altering that setup. A display complaint should not become an unreviewed experiment with the rest of the system.
Protect files before spending more time investigating
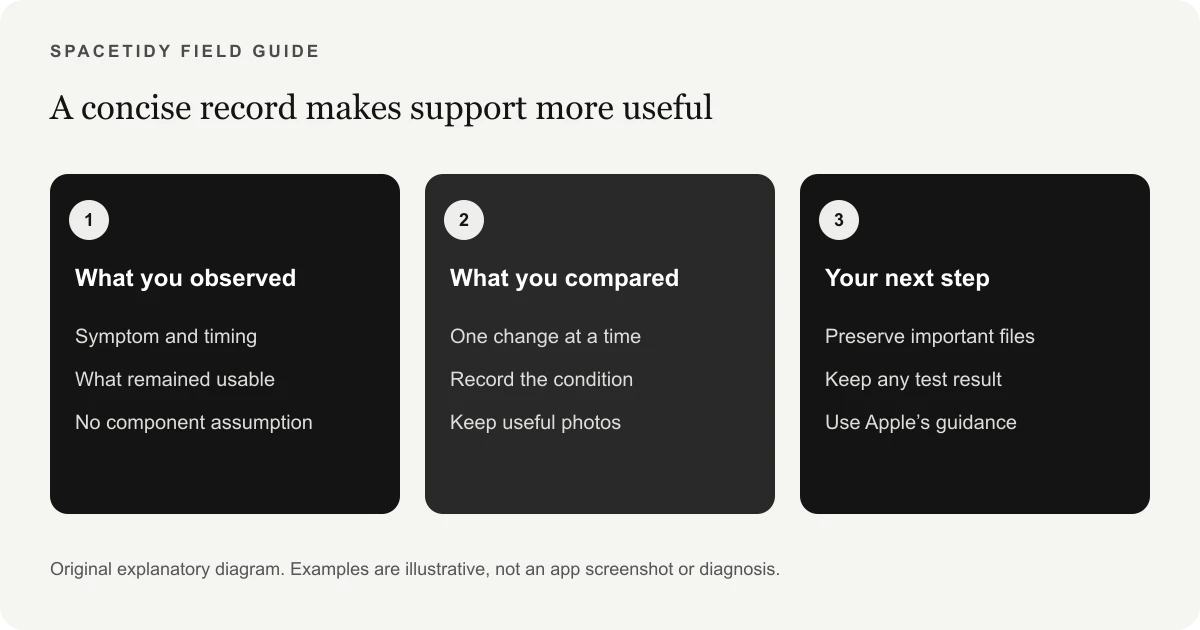
If the screen remains readable enough to work, prioritize saving active documents and checking a recovery copy of important files. You may not know whether the display will become harder to use later. Start with data that changes frequently or would be difficult to recreate. Confirm that the backup destination is available and inspect a few representative files. Avoid using a storage cleanup session as a substitute for this preparation: removing old material and preserving current work are different tasks with different goals.
If a second display gives you a usable desktop, use that access deliberately. Gather the symptom notes, save what matters and arrange the next support step before starting an optional reorganization project. Do not press on the panel, twist the lid or repeatedly reproduce a movement-sensitive symptom to make the photograph more convincing. You can report that ordinary movement appeared to affect the image without conducting a stress test yourself. If the machine becomes unusable, stop trying to complete this checklist blindly and ask for the relevant service assistance.
Use a diagnostic result with the visual evidence
If Apple Support directs you to a built-in diagnostic test, keep its result alongside the photos and comparison notes. Our Apple Diagnostics guide explains how that process differs from ordinary health charts or a folder scan. A reference code can help a support conversation, while a test that does not reproduce the visual symptom may leave further investigation necessary. Do not discard a persistent observation merely because one session did not explain it.
Prepare a concise account for support: when the lines occur, which displays are affected, whether the login screen is involved and what remains usable. Include relevant damage or repair history. Avoid deciding the cause based only on another person’s photo online, even if the pattern looks similar. Your model, conditions and observations matter. End the investigation with a concrete action, such as asking for an assessment, rather than repeatedly cycling through unrelated cleanup tips. A service professional can work with evidence even when you cannot identify the faulty component yourself.
Keep storage maintenance separate from display repair
A Mac can have a display problem and a nearly full disk at the same time. The presence of one does not prove that it caused the other. If you receive a capacity warning after reliable access is available, review it as a separate task using the Mac storage workflow. Begin with familiar files and a clear reason for removing each candidate. Do not delete unknown Library data simply because a broad troubleshooting article calls everything in it “junk.”
SpaceTidy for Mac provides free basic folder scans and visual maps. Its Pro tools add supported application-related-file review, expanded junk categories and other advanced analysis. Those capabilities help with reviewed storage decisions; they do not repair the panel or diagnose a cable. The pricing page explains which tools are paid. You should be able to evaluate the app for its actual purpose without believing that buying a cleaner is a necessary step toward fixing lines across the display.
A useful stopping point for the checklist
You have enough to move forward when you can describe the symptom, identify its observed scope and preserve the files you need. You do not need a definitive diagnosis before contacting support. Repeating the same comparison without learning anything new can consume time and make an unstable computer harder to use for essential work. Keep the notes and the images, explain which steps you tried and let the next person know where the investigation stopped.
If the display returns to normal, retain the record in case the issue recurs. Do not declare an unrelated action a permanent repair simply because the next session looks better. If you continue working, save current files deliberately and watch for the specific symptom you recorded. That is a practical way to handle uncertainty without either ignoring the problem or spending every session searching for it. The aim is a reliable route back to your work and a support conversation grounded in what you actually observed.
Keep the next step explicit in your notes: contact support, preserve a backup or investigate one application. An open-ended instruction to “try more fixes” is harder to act on and makes it easier to lose track of what has already been checked. A short, concrete plan also makes the handoff easier if someone else helps with the Mac later.
Use diagnostics and keep a backup
Our Apple Diagnostics guide explains how to start the built-in test and record reference codes. Bring the codes together with your description and photographs when contacting support.
Keep a backup while the computer is accessible. Do not press on the display or repeatedly bend the lid to see whether the lines change. A cleanup app cannot repair a damaged panel or cable.
Address storage only as a separate task
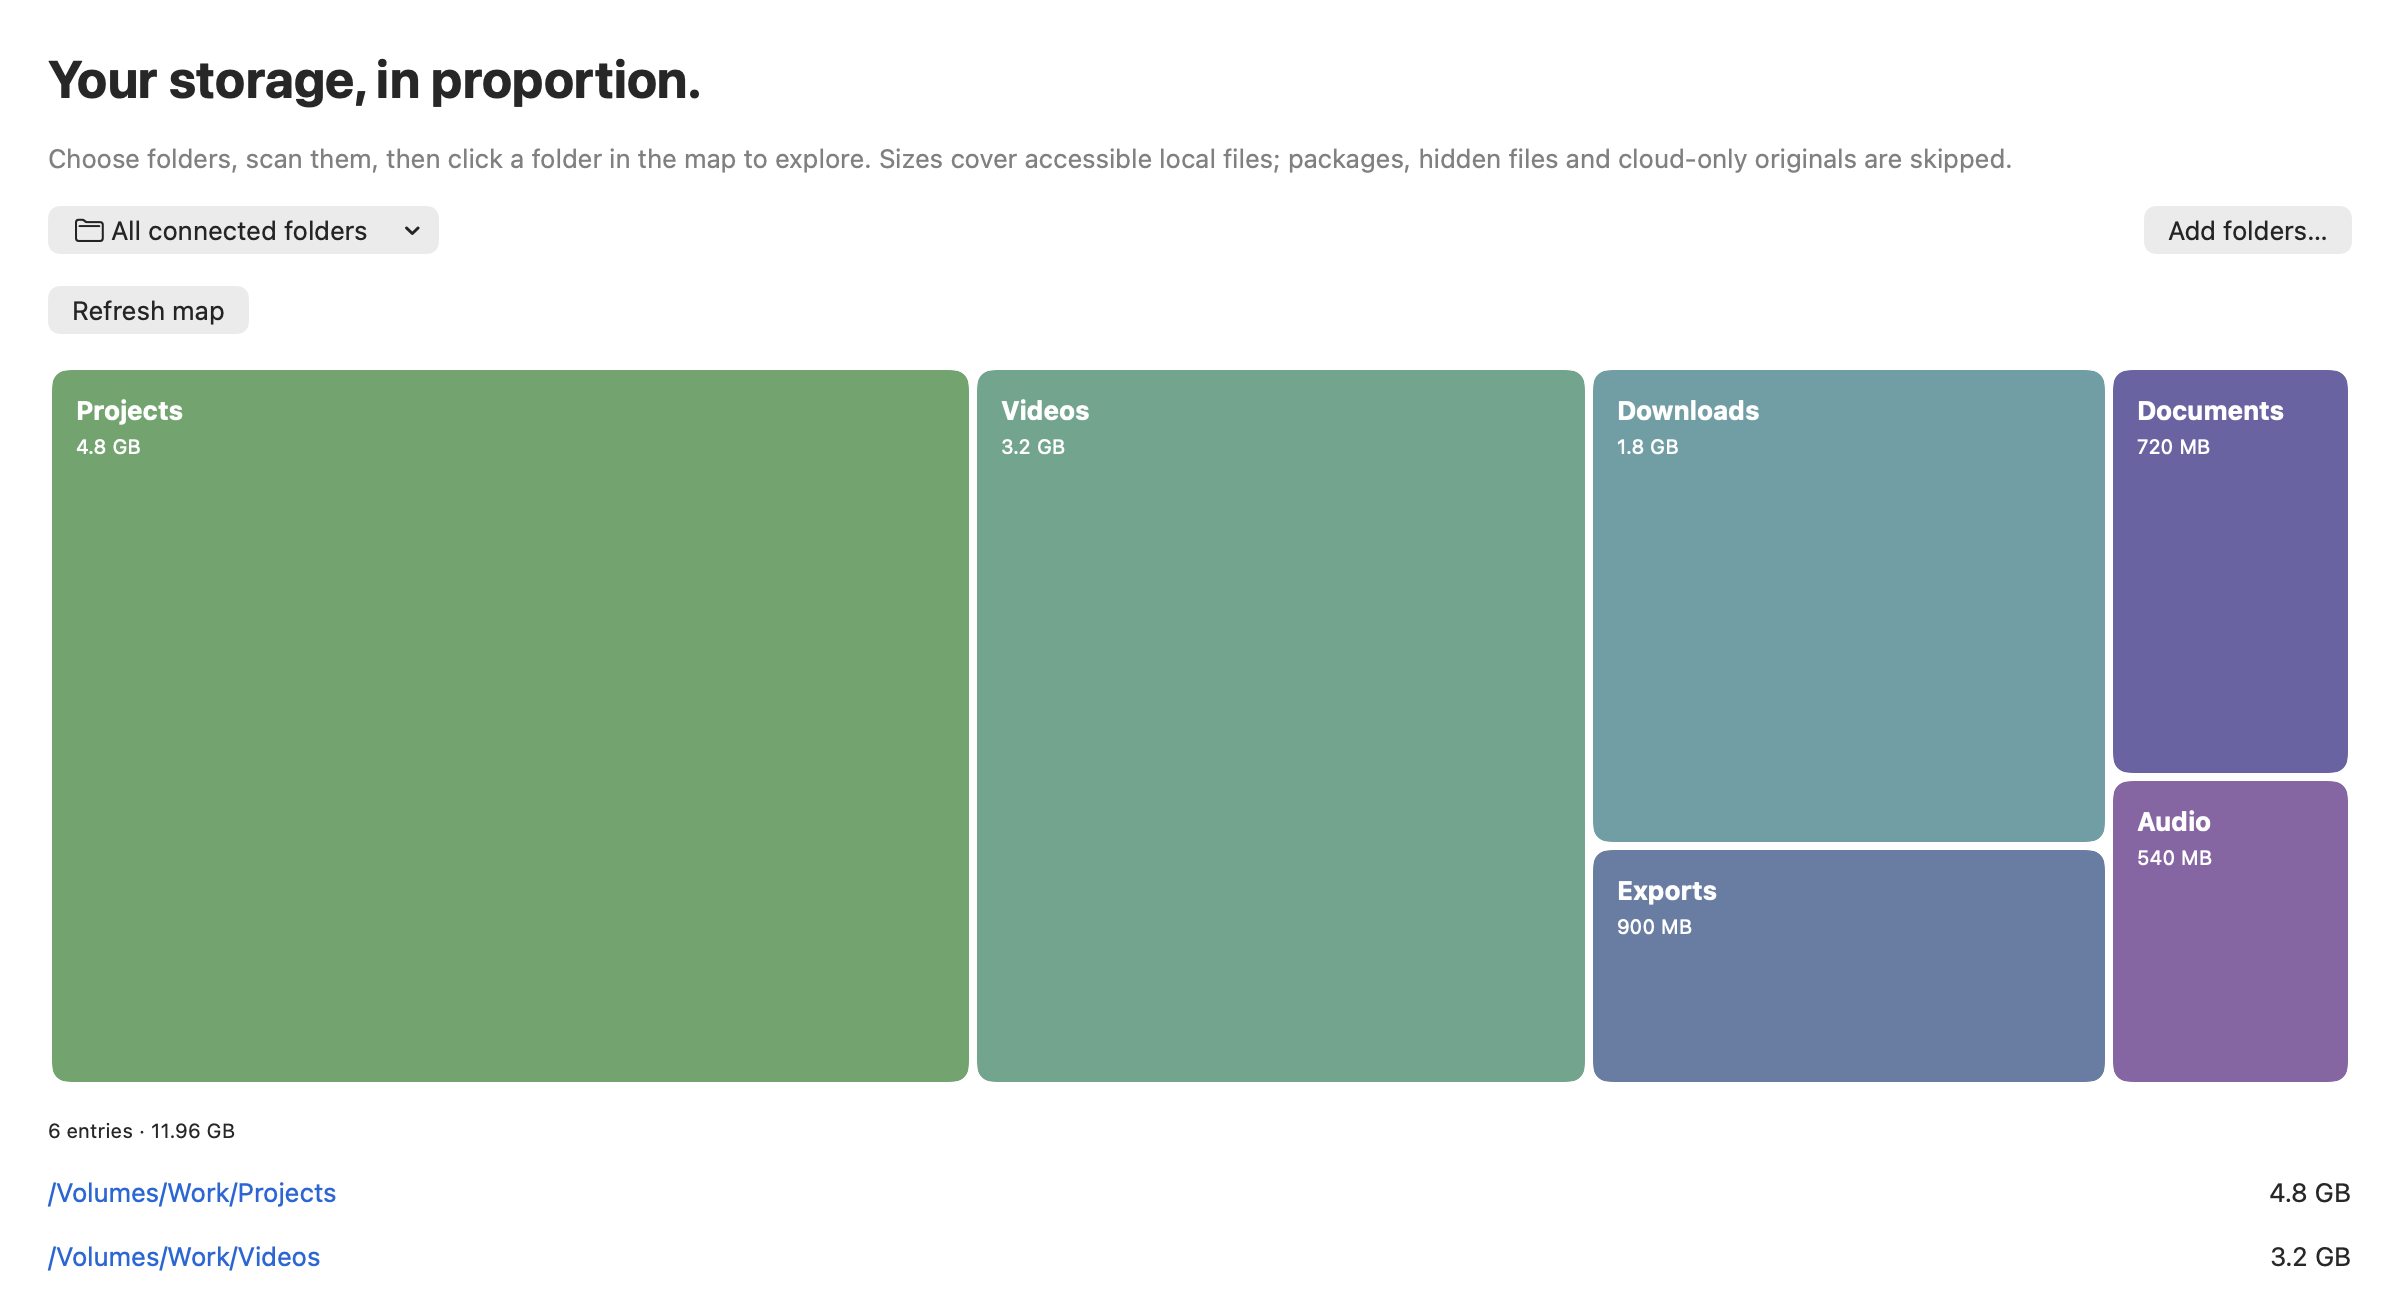
SpaceTidy can map selected folders and help you review files after reliable access is restored. It does not diagnose or repair display lines.
If the Mac also lacks storage, start with familiar folders and reviewed candidates. Deleting caches or unknown system files should not be sold as a treatment for physical display damage.
Sources & further reading
Apple menu names and options can vary by software version. These official guides explain the system behavior referenced above.